01 Define the support task
Begin with the motorcycle’s manual and the maintenance procedure you actually intend to perform. Chain cleaning, wheel removal and long-term parking can require different support arrangements. A device that is appropriate while both wheels are installed may become unsuitable when a wheel, fork or other substantial component is removed. Think about how the motorcycle’s balance will change, not simply how much it weighs.
Record the model, model year, relevant accessories and approved contact points. Check whether luggage, an exhaust, a belly pan or crash protection obstructs the equipment. Do not place lifting force through bodywork, an exhaust collector or an engine casing unless the motorcycle and equipment instructions expressly permit that location.
02 Compare support types
| Equipment | Typical role | Question to resolve |
|---|---|---|
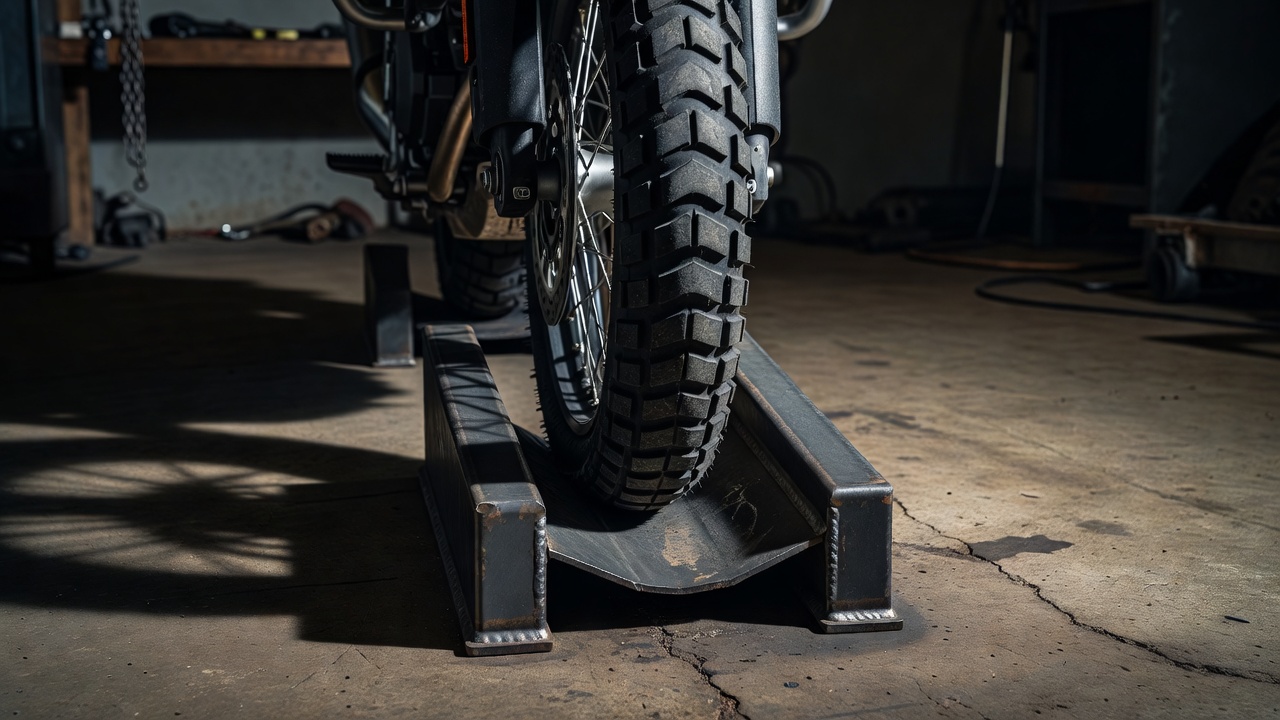
| Wheel chock | Locating a wheel for specified parking or loading uses | Does it require anchoring, straps or a particular tire range? |
| Rear paddock stand | Supporting the rear through approved spools or pads | Are the adapters and contact geometry correct? |
| Front stand | Supporting the front at specified fork or steering-head points | What rear support and installation sequence are required? |
| Model-specific frame support | Lifting through designated structural locations | Are the exact fitting kit and procedure approved? |
A chock is not automatically a lifting device, and an upright motorcycle is not automatically secured. Read the installation instructions before drilling or using any anchor. Confirm both the substrate and the fixing specification; a fastener through a thin floor tile is not equivalent to a correctly installed anchor in suitable concrete. Obtain qualified advice if the floor construction is unknown.
Rear stand designs vary. Spool hooks, swingarm pads and single-sided axle systems are not interchangeable merely because their stated capacities seem sufficient. Check the permitted load, adapter selection, engagement depth and operating method. Never improvise contact points with loose timber, stacked blocks or an unapproved socket.
03 Prepare a controlled lifting area
The floor should be firm, level, clean and suitable for the equipment’s wheels and feet. Small stand wheels must be able to travel as designed. Soft mats, deep tile joints, gravel and drain channels can interrupt that movement. Check the entire operating footprint, including where the handle will finish and where you will stand.
Set out the tools before lifting. Keep children, pets and bystanders away, and avoid working alone when the approved procedure requires assistance. Follow the stated support sequence rather than copying a video of a different motorcycle. If a stand twists, a contact point shifts or the motorcycle begins to lean unexpectedly, stop; do not continue the lift to see whether it settles.
04 Match access to the repair
Before removing anything, establish whether the support depends on that component. A fork-bottom stand may obstruct or cease to be appropriate for certain front-end work. A steering-head stand introduces its own pin compatibility and clearance requirements. Rear wheel access likewise depends on axle, brake and drive arrangements. Consult the service manual rather than treating one stand as a universal solution.
Do not sit on, start, climb onto or apply unusual sideways force to a supported motorcycle unless the equipment instructions explicitly allow the action. Tight fasteners can introduce forces far beyond a gentle stability check. Plan the repair sequence, including manufacturer instructions about loosening or tightening fasteners, before beginning.
05 Compare documentation before price
Look for a complete instruction manual, identifiable model number, available replacement parts and a clear way to ask compatibility questions. Manufacturers including Pit Bull, abba and Bursig illustrate different support approaches; their names are reference points, not endorsements or confirmation that a product fits your motorcycle.
Use the motorcycle manufacturer’s official resources as the other half of the check. Honda, Yamaha, Kawasaki and BMW Motorrad provide model information through their official channels. Ask a qualified dealer or technician when instructions conflict or a lifting point is uncertain.
06 Finish in a known condition
After the work, verify the repair against the service procedure before lowering the motorcycle. Remove loose tools from its path and follow the prescribed lowering sequence. Return the bike to an approved parked configuration, check for leaks and account for removed parts. Storage is not complete until the motorcycle, support equipment and surrounding route are all left in a predictable state.